Did you know that around 185,000 amputations occur in the United States every year? When you lose a limb, it's not just the physical act of losing the limb that's difficult to cope with. It's also the psychological and emotional trauma that comes along with it.
One of the most important things you can do after losing a limb is to get fitted for custom prosthetics.
How do prosthetics work? A prosthetic is an artificial device that replaces a missing body part. It can be as simple as just a partial finger or foot, or it can be more complex, like an entire arm or leg..
No matter what kind of prosthetic you need, there are certain stages of fittings that you will go through in order to get the perfect fit for your body and your lifestyle.
Keep reading to learn more about the stages.

Stage 1: The Initial Consultation
During the consultation, we will get to know you and your unique needs. We will ask about your medical history and how the amputation has affected your life. We will also assess your physical condition and any range of motion restrictions you may have.
Based on this information, we will be able to provide you with an estimate of the time it will take to design and fit your new prosthesis. We will also go over the different types of prostheses available and help you decide which one is right for you.
What Are Prosthetics Made Of?
Prosthetics are made from a variety of materials. Common materials used include silicone, aluminum, thermoplastics, acrylic resin, carbon fiber, and titanium.
What Is a Prosthetist?
Throughout the process, you will work with a prosthetist and his team. The prosthetist and his team will be the people who size, make, and fit your artificial limb..
Stage 2: Insurance Verification
The process of getting fitted for a prosthetic can be lengthy, but it is important to make sure that everything gets done correctly in order to ensure the best possible results. One of the first steps in this process is insurance verification. This is where we make sure that your insurance will cover the cost of your prosthetic and that you have the correct coverage.
We will need to obtain some information from you in order to verify your insurance. This includes your policy number, group number, and contact information for your insurance company.
We will also need to know what type of coverage you have and if there are any limitations on what types of prosthetics are covered. Once we have this information, we will be able to start the process of getting you fitted for your new custom prosthetic.
If you are ready to take the next step, we will schedule a follow-up appointment for you. This is when we will begin the process of taking measurements and creating your custom prosthesis.
Stage 3: The Casting
After the initial consultation and evaluation with a certified prosthetist, the fitting process begins. The first step is taking an impression, or mold, of the residual limb.
This can be done in several ways, but the most common method is to take a temporary cast using plaster or fiberglass material.. Once the material hardens, it gets removed from the limb and used to create a model of the residual limb.
Stage 4: Creation of a "Check Socket"
After an amputation, the next step in the prosthetic fitting process is the creation of a "check socket." This is a temporary socket that is used to check the fit and function of the artificial limb before the final socket is made.
The check socket is made by taking a mold of the residual limb and then using a clear, sturdy plastic to make a trial socket to be fitted on the residual limb.. The stump is then inserted into the socket, and any necessary adjustments get made to ensure a proper fit.
Stage 5: Prosthetics Fit
The next stage of the prosthetic fitting process is when you get fitted for the final prosthesis. This is when the artificial limb is made to look and feel as close to your natural limb as possible. The process of creating a custom-fit prosthesis can take several weeks, but it is worth the wait for most patients.
During this stage, you will work closely with your prosthetist to choose the right materials, colors, and styles for their new limb. You will also be fitted for any necessary sockets or attachments.
After the socket has been attached, you will need to undergo a series of tests to make sure that everything fits correctly and that they are able to move and function properly with their new limb.
Stage 6: Delivery
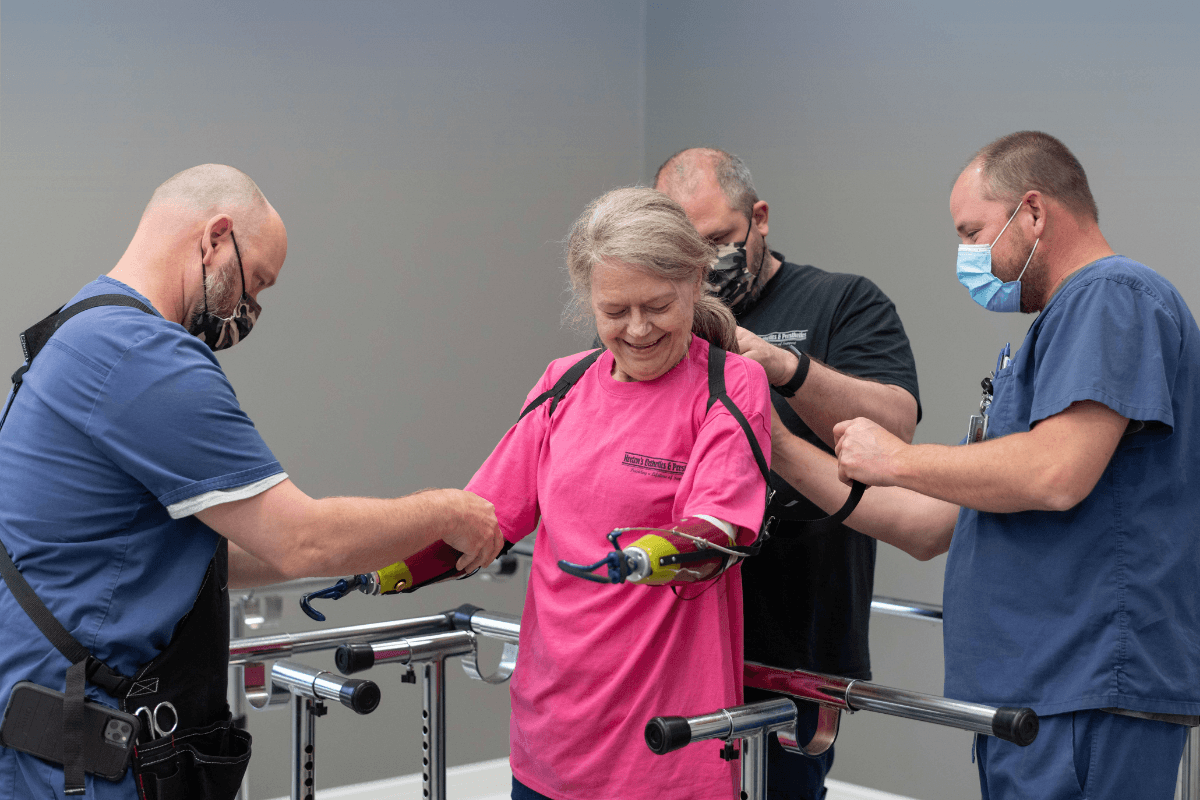
Once you and your team have designed and created your new limb, it's time for delivery! This is the moment you've been waiting for when you see your new limb in action.
Your prosthetist will do a final fitting, ensuring the limb is comfortable and secure. They'll also show you how to operate it, so you can start using it immediately.
You may need to adjust to your new limb at first, but with practice, you'll be able to use it just like any other part of your body. Congratulations on completing the fitting process!
Stage 7: Follow Up
After you've gone through all the previous stages and have been fitted with your new prosthetic, it's important to follow up with your prosthetist to ensure that everything is working well.
This may include making adjustments to the fit or checking in on your progress. It's also a good time to ask any questions you may have about living with your new prosthesis.
Work With the Best Prosthetic Company in Arkansas for Custom Prosthetics
There you have it! The stages of prosthetic fitting, according to Horton's. We hope that this article has given you a better understanding of what to expect when getting fitted for custom prosthetics and that you feel more confident about the process.
Are you ready to get started with Horton’s Orthotics and Prosthetics? Contact us today to schedule an appointment.


