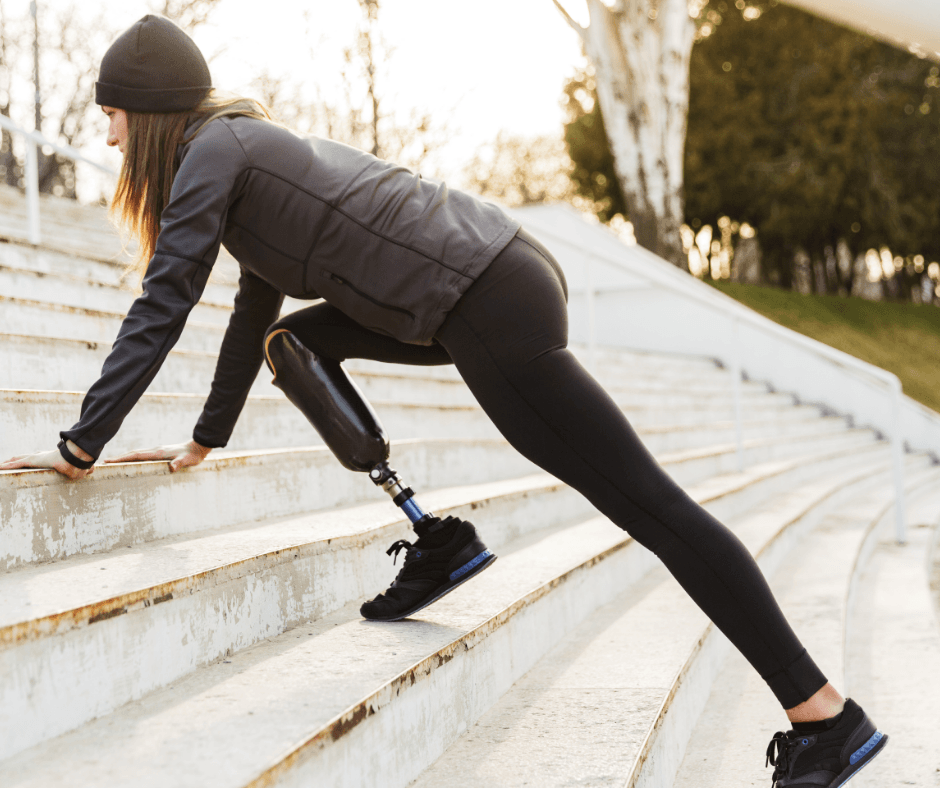
Prosthetic limbs are designed to help you function better in your daily life. In fact, with the right prosthesis, you can do everything that make your life yours. However, it’s also important that you get the best possible fit during your prosthetic fitting process.
Here’s a closer look at why getting the right prosthesis matters, what parts make up the prosthesis, and how a guide to getting a proper fit can help you along the way.
How to get a prosthetic that fits
Every person is shaped differently, and the same is true for their amputation sites. No two are the same. The fitting process for custom prostheses is vital for a comfortable, long-lasting fit.
The prosthetic fitting process
During this process, your amputation site will be measured, and a mold will be taken of the residual limb. This is the mold used to create the socket for your prosthesis that contours to the shape of your amputation site. A properly fitted socket is what keeps rubbing, pinching, and chafing from happening. After all, the socket is the most important part of your prosthesis, because it comes into direct contact with your residual limb.
When Horton’s professionals create custom prosthetics, they take many things into account. These include your durability requirements, functional needs, the level of your amputation, and any growth or weight loss/gain. There are many types of prostheses, and each has its own special instructions. But generally, the same fitting steps apply to every patient.
After getting impressions and scans of your residual limb, the team will use plaster or fiberglass bandages and 3D digital imaging to get you the perfect fit. Once the prosthetic is fabricated, a prosthetist will begin fitting you.
Steps to the perfect fit
First, the Horton’s team will check that the socket of your prosthesis fits the shape of your residual limb. Everything should fit snugly but not so tight that it squeezes too much, which can reduce blood circulation.
Next, you’ll learn about general prosthetic wear and care tips. This includes how to use your compression sleeve, suspension sleeve, prosthetic liner, and any other accessories that will be used regularly with your prosthesis to keep it comfortable and functional.
After this, it’s time to check weight distribution. It’s important, especially for a prosthetic leg, that your weight is evenly distributed across the surface of the residual limb. If your weight is uneven, it could create painful pressure points that could turn into blisters or sores.
The importance of proper fitting prosthetics can’t be overstated. If you have any discomfort, which can include chafing, rubbing, sores, or blisters, tell your prosthetist right away. You should never have to go through that kind of pain. The team at Horton’s can help you make the right adjustments, and ensure that you have the most comfortable fit possible.
The parts of a prosthesis
Understanding the prosthetic fitting process involves knowing how it’s made. Here are the seven basic parts and how they all work together.
1. Residual limb gel cushion interface
This is a cushion made of viscoelastic or silicone gel. It protects your residual limb by softening skin-to-socket contact and adjusting the pressure as you use your prosthesis. It’s located in the socket of your prosthesis.
2. Suspension systems for prosthesis
This is the system that connects your prosthesis to your body. The actual components will vary depending on the type of prosthesis.
3. Socket
This is the rigid plastic “cup” that fits around your residual limb. You may use a socket that has just the gel cushion interface. You may also use a socket with an additional inner flexible socket to help adjust pressure, and distribute it evenly across your amputation site.
4. Joints
Depending on where your limb was amputated and what type of prosthetic you choose, you may have ankle, knee, wrist, and elbow joints. You may also have a terminal appendage, such as a hand or a foot.
5. Modular endoskeletal system connection couplings
These couplings connect your terminal appendages and your prosthetic joints. They are adjustable to allow for the most comfortable and best looking fit during and after the prosthetic fitting process.
6. Anatomic shape
Some prostheses use soft foam materials to mimic the look of muscle contour. This can make your prosthesis look more realistic under clothing. It also serves as a form of cushion and protection for the endoskeletal components of your prosthesis
7. Synthetic skin
If you choose synthetic skin, which is a a popular choice with hand prostheses, there will also be a thin, color tone-matched layer over the anatomic shaping foam.
Your team will check all of these components during the fitting process. This involves taking into account your activity level, visual preferences, and body type. Because the fit needs to be absolutely perfect, the prosthetic fitting process may take several visits.
Your residual limb will swell and shrink depending on the weather, how advanced your healing and scar tissue are, whether you will continue to grow, your weight fluctuations, and how much water you’re retaining on a given day. A good prosthetist will always require several attempts to get your fit exactly right.
Once the socket of your prosthesis has been finalized and the parts have been adjusted, it’s time to put on the finished product. You’ll want to wear the prosthesis for several days, and closely monitor how it fits and if anything is uncomfortable. Generally, the entire process will take about seven to eighteen visits from the first consultation to the last appointment.
And of course, it’s important to keep in mind that your final fitting will not be your final consultation with your prosthetist. You will want to see them at least once a year to ensure that your prosthesis is still fitting you and your lifestyle appropriately.
Download Our FREE Fit Guide!
For more information
The right fit for your prosthesis can greatly improve your quality of life. If you have questions about the prosthetic fitting process, contact Horton’s Orthotics & Prosthetics today at (501) 683-8889, or fill out this form to schedule an appointment.
